In the world of beauty, where every brush stroke is a step towards self-expression, contouring reigns supreme as the art of sculpting one’s own masterpiece. Imagine wielding your makeup brush like a seasoned artist, chiseling out cheekbones and defining jawlines with the precision of a maestro. Welcome to the realm of professional contouring, where shadows and highlights dance together to create dimension and drama on the canvas of your face. Whether you’re a makeup novice or a seasoned aficionado, mastering the art of contouring can transform your beauty routine into a symphony of sophistication. In this guide, we unveil the secrets of the pros, empowering you to enhance your natural features with confidence and flair. Get ready to embark on a journey that will elevate your makeup game to new heights, as you learn how to contour like a professional makeup artist.
Mastering the Art of Contour: Essential Tools and Techniques
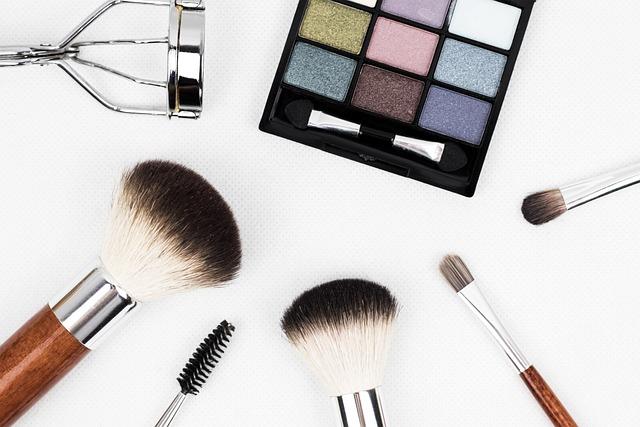
To achieve that perfectly sculpted look, it’s essential to have the right arsenal of tools and techniques at your disposal. Investing in quality brushes and contouring products can make all the difference. Opt for an angled contour brush for precise application and a fluffy blending brush to soften harsh lines. Cream contour sticks or powders are great options depending on your skin type and desired finish. Remember, the goal is to create a natural-looking shadow, so choose a shade just a few tones darker than your skin.
- Tools: Angled contour brush, fluffy blending brush, beauty sponge.
- Products: Cream contour sticks, powder contour kits, setting spray.
Technique is everything when it comes to contouring. Start by mapping out the areas you want to define, such as the hollows of your cheeks, jawline, and the sides of your nose. Use light, sweeping motions to apply the contour product, and then blend thoroughly to erase any harsh lines. For added dimension, highlight the high points of your face like the tops of your cheekbones, bridge of your nose, and cupid’s bow. Set your masterpiece with a translucent powder or setting spray to ensure it stays put all day.
Unveiling the Secrets: Choosing the Right Shades for Your Skin Tone
Unlocking the magic of contouring begins with understanding your skin’s unique undertones. To enhance your natural beauty, choose shades that complement your complexion. For those with warm undertones, look for products with hints of gold or bronze. These hues will accentuate your skin’s natural warmth, providing a sun-kissed glow. If you have cool undertones, seek out shades with a subtle hint of taupe or ash, which can create a sculpted look without overpowering your natural coolness. For neutral undertones, you have the flexibility to experiment with a variety of shades, from warm to cool, allowing you to switch up your look effortlessly.
- Warm Undertones: Opt for golden bronzers and peachy blushes.
- Cool Undertones: Choose taupe contours and pink-toned blushes.
- Neutral Undertones: Experiment with a mix of both warm and cool shades.
Elevate Your Look: Step-by-Step Guide to Flawless Contouring
Mastering the art of contouring can transform your makeup routine and elevate your everyday look. Achieving a sculpted, professional finish involves a few simple steps and the right tools. Begin by selecting a contour shade that’s one to two shades darker than your natural skin tone. Opt for a matte formula for a natural shadow effect. The key areas to focus on include:
- Cheekbones: Apply below your cheekbones, starting from the ear and blending towards the mid-cheek.
- Jawline: Define your jaw by tracing the contour shade along the edge and blending downward.
- Nose: Slim down your nose by applying contour along the sides and blending towards the center.
- Forehead: For a balanced look, add a touch of contour along your hairline.
Blend, blend, blend to avoid harsh lines and achieve a seamless finish. Use a damp beauty sponge or a fluffy brush to diffuse the product into your foundation. Highlighting is the next crucial step to bring light to your face. Apply a highlighting shade to the tops of your cheekbones, the bridge of your nose, and the center of your forehead to complete the look. Remember, the secret to a flawless contour is all about blending and balancing the shades for a naturally defined visage.


